Managing & sharing
Once your recordings are saved, Soniox helps you organize, find, review, and share your conversations.
Review & refine your transcript
Open your recording and its transcript from the History page.
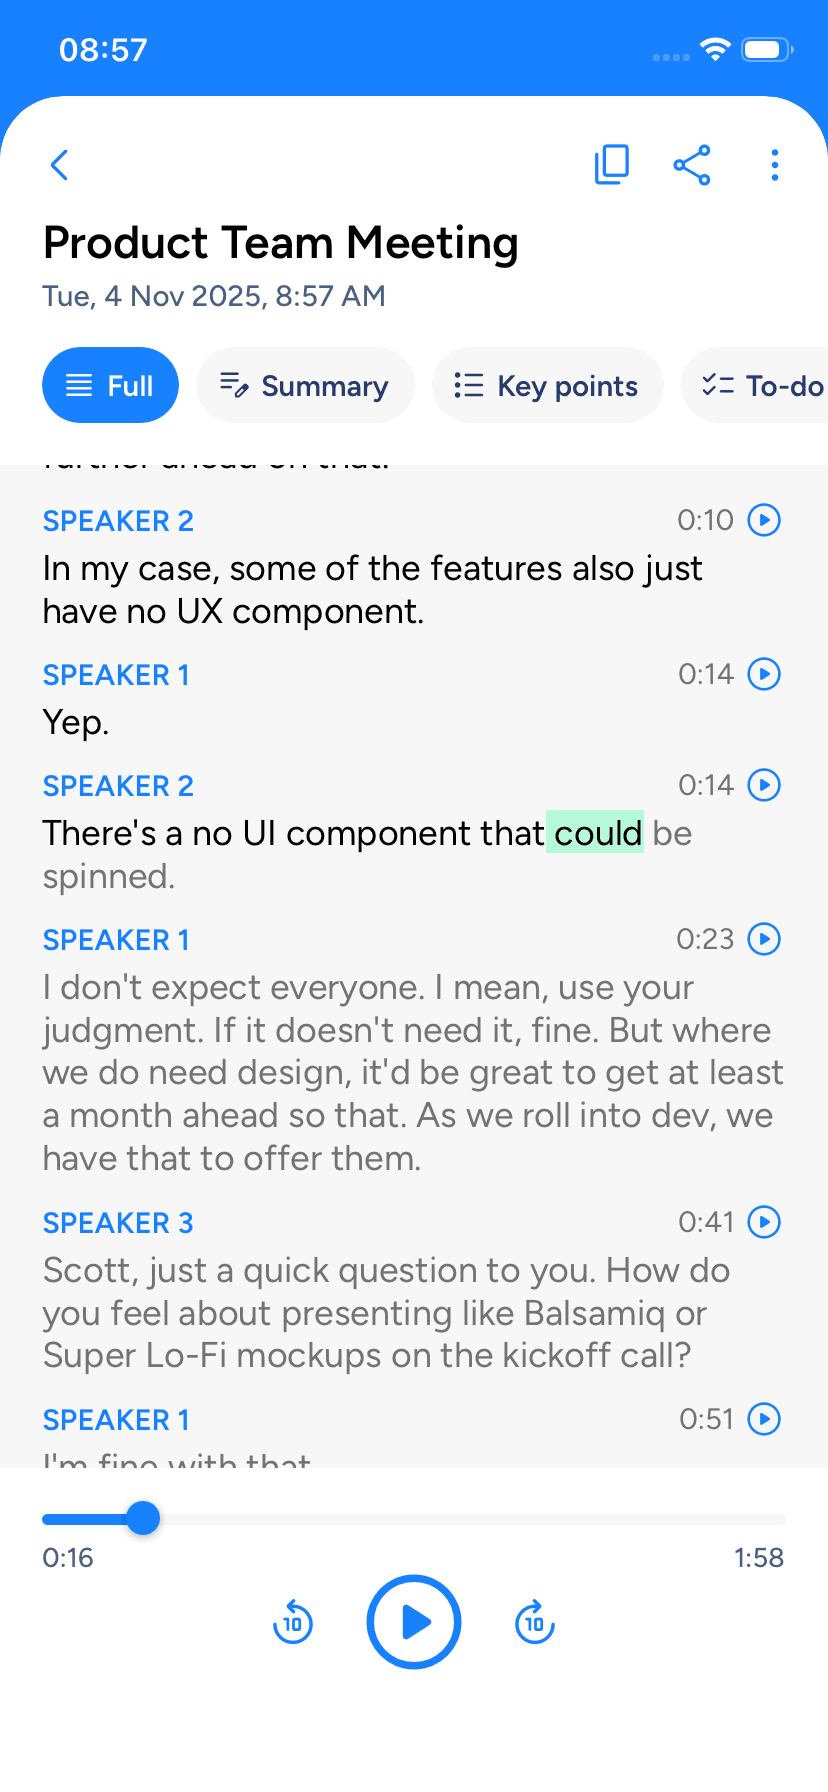
Playback with transcript
Open a saved recording and use the playback controls. The transcript highlights as audio plays, so you can follow and verify text easily.
Playback controls are only avaiable if the recording is present on the phone.
Name speakers
By default, the app labels speakers as "Speaker 1," "Speaker 2," etc. You can rename them:
- Open the recording.
- Tap the menu more_vert and select Edit speaker names.
- Edit names and tap Save. All instances of that speaker update automatically.
Re-transcribe a recording
If you forgot to add context or set language hints, you can update them and run transcription again on a saved recording, see: Improving accuracy.
- Go to the history History tab and pick the recording.
- Tap the menu icon more_vert on the top right.
- Choose Re-transcribe.
- Change language hints or context, then tap Re-transcribe again.
The app will process the full audio with the new settings and update the transcript.
Re-transcribing counts as a new job and uses credits from your balance.
The app must upload the audio file again. If it is no longer on your device such as after reinstalling the app or switching phones, re-transcribing is disabled.
All earlier AI actions on that recording will be removed. You can run them again once the new transcript is ready.
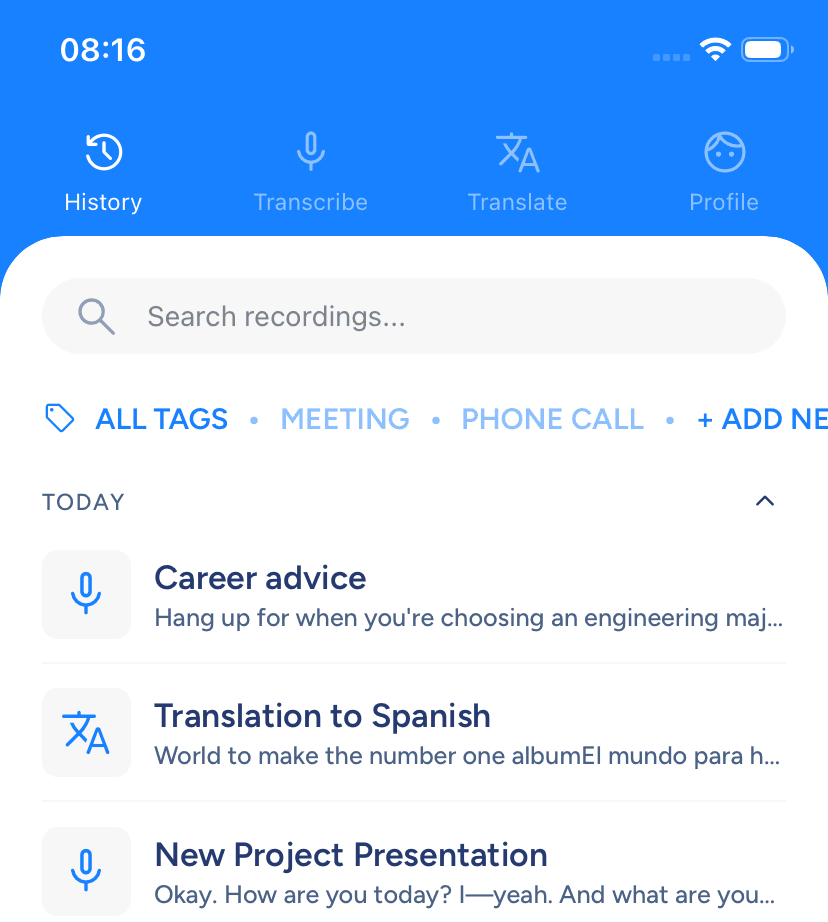
Organize your recordings
Use titles, tags, and search to manage recordings.
Rename recordings
When you first save a recording, Soniox suggests a name. You can also enter your own.
To rename later:
- Open the recording.
- Tap the menu more_vert on the top right.
- Select Rename, type a new title, and tap Save.
You can also rename directly from the History tab by long-pressing a recording and selecting Rename.
Add tags
Tags help group related recordings, like all marketing meetings or customer support calls.
Edit tags
Go to the history tab and click Add new in the sell Tags row. Add, edit, or delete tags on the new screen.
Filter recordings by tags
On the History tab, tap a tag to filter recordings by it.
Assign tags to a recording
Open the recording, tap the menu more_vert, select Edit tags, and choose the tags to add.
Search transcripts
Use the search bar on the history History page to find any saved recording. You can search by:
- Recording title.
- Any word or phrase in the transcript.
Share your recordings
Navigate to a recording and tap the share Share button. Options include:
Share the audio file
Send the audio file (.m4a) using your phone’s sharing menu (AirDrop, Messages, Google Drive, etc.).
Share the transcript via link
Generate a secure, private web link to the transcript. Others can view the transcript with speaker labels and any AI actions in their browser.
Share transcript text
Share the transcript text directly with anyone using the Share transcript button.
Share AI action results via link
If you share a transcript link, it includes all AI actions. To share only one action (like a summary), open that action, tap share, and select Get summary link (or equivalent for other actions).
Share AI action text
Share the text of any AI action by selecting Share summary (or the relevant action) from the share menu.